- Can go straight from the freezer to the oven
- Can be used in temperatures from-76 degree F to as high as 446 degree F
- Made in Italy; dishwasher safe
How do I Use Silicone Molds With Chocolate?
Mold Selection
Silicone molds for chocolate must have a perfectly smooth interior. Any bubbles, pits or imperfections will transfer to the surface of the chocolate. Abraded or scratched molds give the finished chocolate a dull appearance.
Avoid washing the molds with abrasive cleaners or scrubbing pads. Molds made from food grade silicone with a tin or platinum cure are best used for chocolate, with the platinum cured varieties featuring the smoothest interior for the glossiest finish on the molded chocolates.
Melting and Tempering
Chocolate requires melting over indirect heat, followed by a tempering process that ensures it cures with a glossy exterior and crisp texture. A metal bowl set above the simmering water in a double boiler melts the chocolate without scorching it.
Begin by melting three-fourths of the chocolate needed. Use small chopped pieces of chocolate and stir constantly as it melts, heating it to about 120 degrees Fahrenheit.
Once the chocolate is smooth, remove it from the heat and add the remaining chocolate, stirring it in until it's melted and the temperature has dropped to about 80 degrees. To finish the temper, heat the chocolate again in the double boiler to between 88 and 91 degrees for dark chocolate, or 86 and 88 degrees for milk chocolate.
The Perfect Pour
Immediate pouring after tempering prevents the chocolate from setting up and hardening prematurely. Place the silicone molds on a baking sheet or tray, and pour the melted chocolate into the molds. For smooth chocolates, the molds must be filled to the rim.
You may need to smooth the chocolate into small details using the tip of a toothpick. Air bubbles can become trapped inside the poured chocolate. Lightly tapping the mold on the counter dislodges the bubbles. You can also prevent air bubbles by brushing a thin coat of the tempered chocolate onto the inside of each mold before pouring.
Curing and Removal
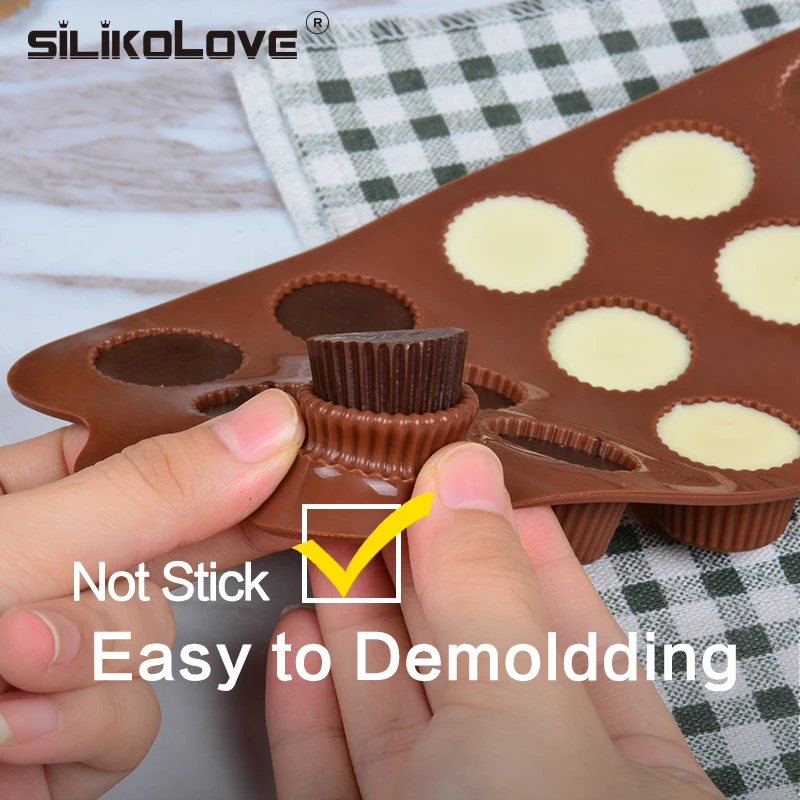
Cool temperatures help chocolate set quickly. Placing the molds in the refrigerator quickly cools the chocolates so they are ready in about 20 minutes. Fully cured chocolates will appear slightly cloudy upon initial removal from the fridge. The chocolate is not done curing if there are any shiny wet spots. The chocolates will also fall from the molds easily once they are fully cured. Turn the molds upside down and tap or press lightly on the underside to remove the finished candy.










0 Comments